With any kind of quilt, you can choose to have your free-motion quilting follow the lines and shapes of the design, or have a life of its own and be "drawn" over the entire quilt surface. In some patterns like rail fence or log cabin, where the shapes are all more or less rectangular, you might want to use a quilting design where you start at one end of a shape and work across to the other end. You can also work rows of these designs over the top of more complex compositions.
Here are some free-motion designs that fit that description:

Simple zigzag


New Zealand -- named because it's a series of N and Z shapes

Curvy Y

Nested H

Yin-yang circles

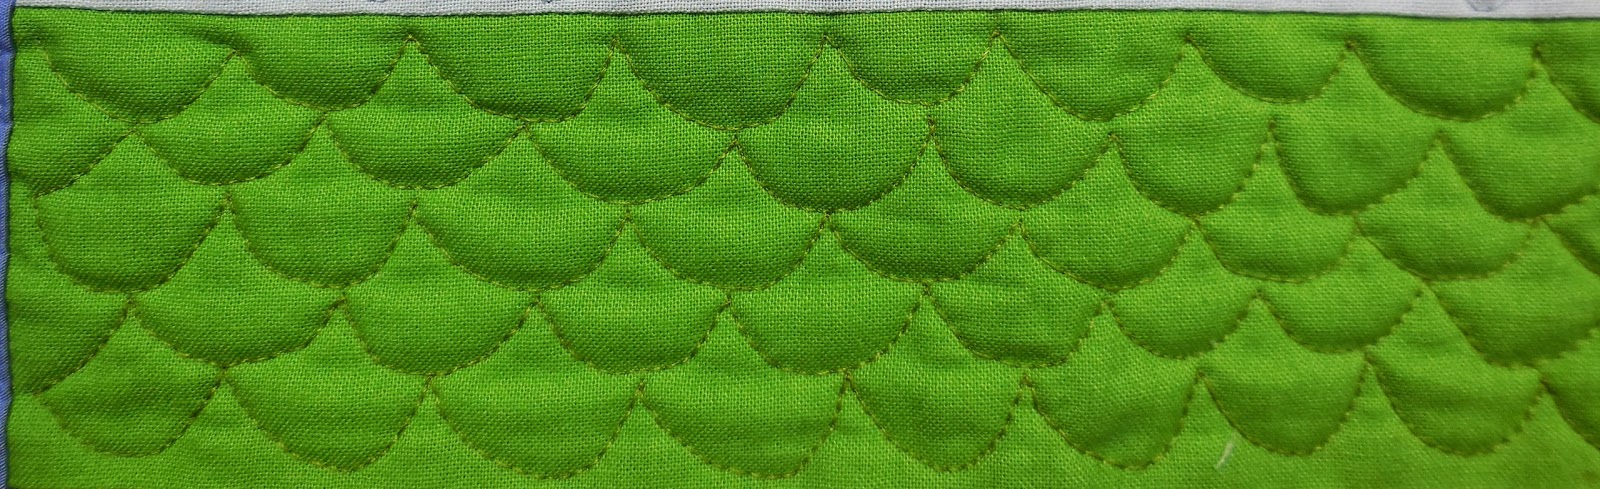
Clamshells -- work a line of Us across the strip. Turn and come back in the other direction beneath the first row, touching the top of each U to the curved bottom of the one above it. Or do upside-down Us and work the next row above the first one.

Seashells -- starting at a corner, stitch a half-inch or so in along the bottom of your strip, then curve back to make the smallest inside curve; echo that curve back and forth to make two or three wraps.
Several of these designs can be easily stitched holding your strip either horizontally or vertically. I always sew yin-yang circles from top to bottom because I think my circles are rounder and it's easier to place the interior S curve along the center line when I'm looking at them from that direction. But many of the other designs seem to flow more easily when the strip is horizontal. Try both ways and see which way is most comfortable to your brain.
To stitch a horizontal row, it's better to start at the left and work toward the right, for two reasons. First, because we write from left to right and the brain seems to work a bit better when the design unfolds in that direction. But most important, when you quilt from left to right you're guiding the quilt package away from the harp of the sewing machine, into the wide open spaces to the left of your machine. By contrast, if you start at the right, you'll have to force more and more fabric into the cramped space under the harp, and you'll have to reposition your right hand frequently to keep it from running into the harp.


Great ideas, thanks
ReplyDeleteThank you for taking the time to post all this great information. Very much appreciated.
ReplyDelete